
Are you new to the world of PC building and feeling overwhelmed by all the technical jargon? Don’t worry, you’re not alone! One of the key components of any PC is the motherboard, but it can be one of the most confusing. That’s why we’ve created this beginner’s guide to understanding motherboards. In this guide, we’ll break down all the key terms and features you need to know and help you choose the right motherboard for your build. So let’s get started on your journey to becoming a motherboard master!
Welcome to our beginner’s guide to understanding the heart of your PC! As an experienced PC builder knows, the motherboard is the central hub of your computer, connecting all the different components and allowing them to work together. But if you’re new to the world of PC building, the motherboard can seem like a mysterious and intimidating component. That’s why we’ve created this guide – to demystify the motherboard and help you understand how it works and why it’s so important. Whether you’re a complete newcomer or just looking to brush up on your knowledge, this guide is for you. So let’s dive in and learn all about the heart of your PC!
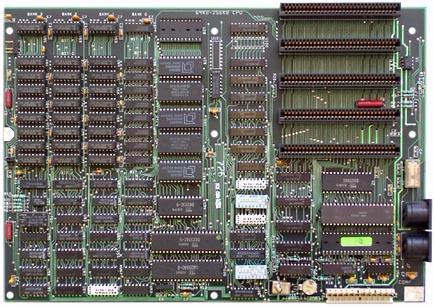
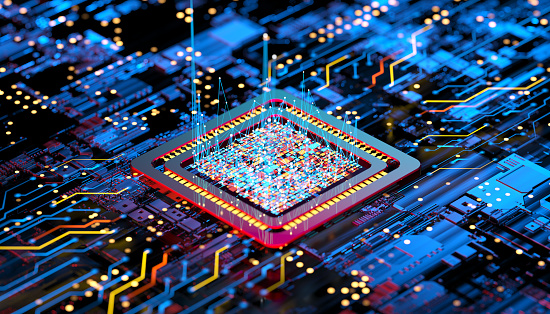
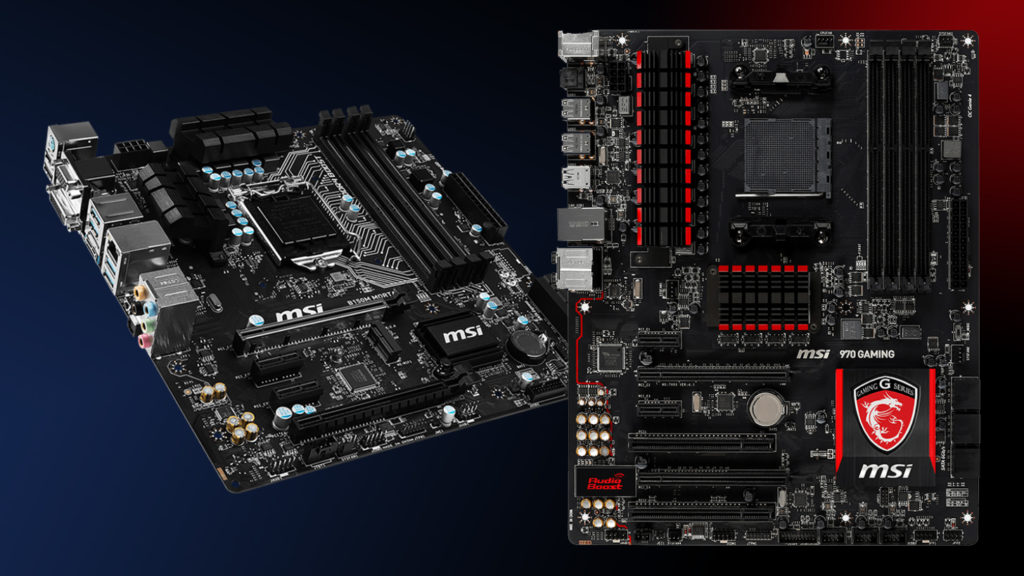
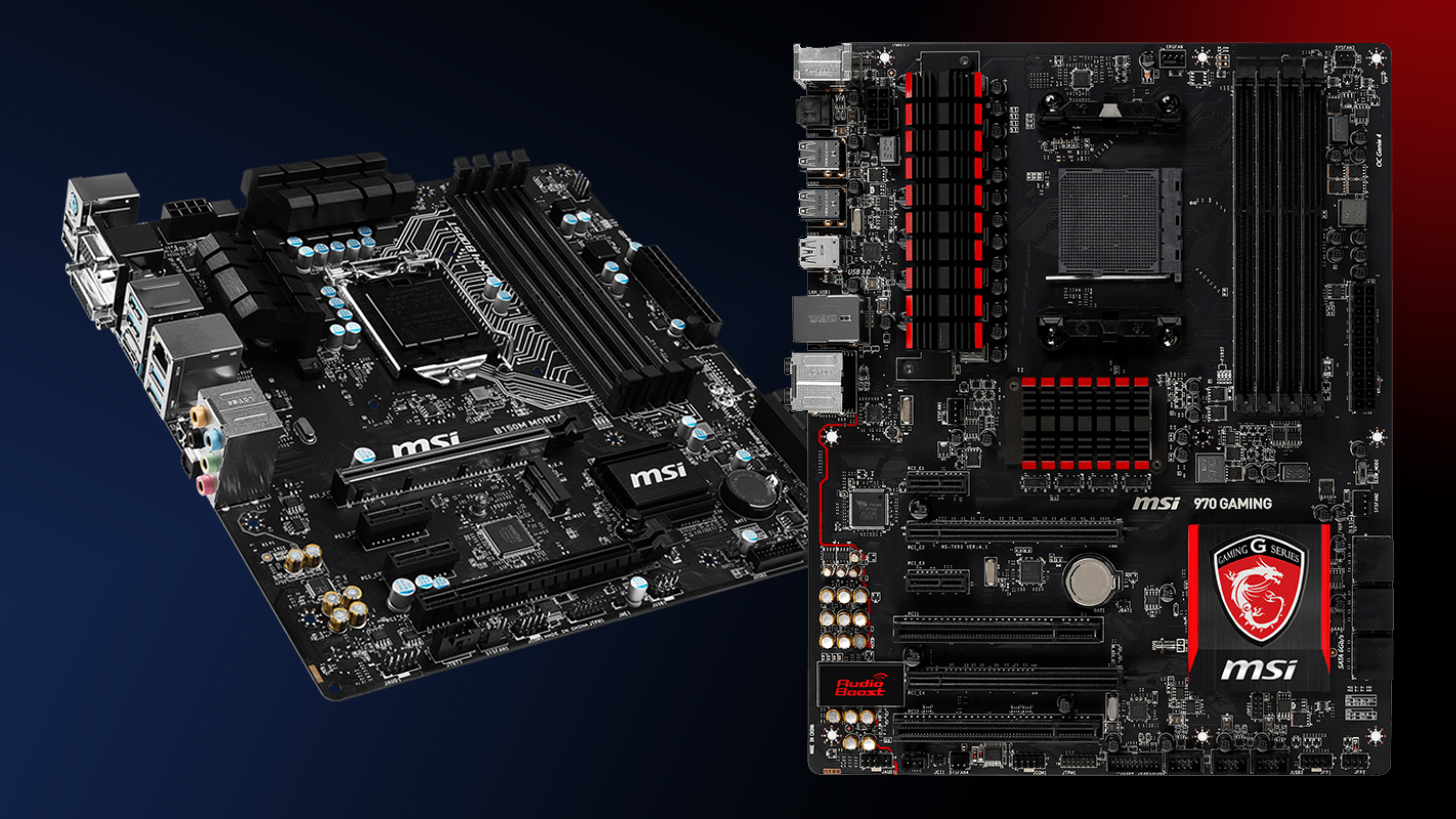
A motherboard is the main circuit board in a computer that connects all the other hardware components. It is the central hub of a computer, providing a place for all the components to connect to and communicate with each other. The motherboard contains the CPU (Central Processing Unit), memory, expansion slots for additional hardware, and various connectors for input/output devices such as a monitor, keyboard, and mouse. It also houses the BIOS (Basic Input/Output System), which is a set of instructions that tells the computer how to boot up and interact with other hardware components. The motherboard is an essential component of any computer, and choosing the right one is important for ensuring compatibility and performance.
Here are some of the main parts of a motherboard:
1. CPU socket: This is where the central processing unit (CPU) is installed. The CPU is the main “brain” of the computer for executing instructions and performing calculations.
2. RAM slots: These are the slots where you install memory modules, also known as RAM (random access memory). RAM is used to store data that the CPU needs to access quickly.
3. Expansion slots: These are slots that allow you to add additional hardware to your computers, such as graphics cards, sound cards, or network cards.
4. BIOS/UEFI chip: This chip stores the BIOS (Basic Input/Output System) or UEFI (Unified Extensible Firmware Interface) firmware, which is a set of instructions that tell the computer how to boot up and interact with the other hardware components.
5. I/O ports: These are connectors that allow you to connect input/output devices to your computers, such as a keyboard, mouse, and monitor.
6. Power connectors: These are connectors that allow you to connect the power supply to the motherboard and power the other hardware components.
7. Data connectors: These are connectors that allow you to connect storage devices, such as hard drives and SSDs, to the motherboard.
8. Fan headers: These are connectors that allow you to attach cooling fans to the motherboard to help keep the computer cool.
9. BIOS battery: This battery provides power to the BIOS/EUFI chip when the computer is turned off, allowing it to retain settings and information.
10. Jumpers: These are small connectors that can be used to change the configuration of the motherboard by “jumping” two pins together.
If you’re having trouble installing and setting up your motherboard, here are some great tips:
1. Make sure you have all the necessary tools and equipment.
2. Make sure you have a clear and well-lit workspace and that you are properly grounded by wearing a static wrist strap.
3. Carefully read the instructions provided by the manufacturer.
4. Install the CPU and RAM in the appropriate slots on the motherboard before installing the motherboard in the case.
5. Secure the motherboard to the case using screws or standoffs.
6. Connect all necessary cables, including the power supply, data cables, and front panel connectors.
7. Install any additional expansion cards (GPU, sound card).
8. Double-check all your connections to make sure everything is secure and properly plugged in.
9. Follow the instructions provided by the manufacturer to enter the BIOS/EUFI settings.
10. Test the motherboard to make sure it is functioning properly before installing the rest of the hardware components.
What are the common problems with motherboards?
1. No power: This can be caused by a variety of issues, including a faulty power supply, a damaged motherboard, or a loose power connection.
2. Boot failures: This can be caused by a variety of issues, including a faulty CPU, RAM, or motherboard, or incorrect BIOS/UEFI settings.
3. Overheating can be caused by a variety of issues, including a faulty CPU cooler, insufficient airflow, or a malfunctioning fan.
4. Hardware compatibility issues: This can be caused by incompatible hardware components, such as a CPU that is not supported by the motherboard or a PGU that is not compatible with the expansion slot.
5. Random crashes or freezes: This can be caused by a variety of issues, including a faulty motherboard, power supply, RAM, or a software problem.
6. No display: This can be caused by a variety of issues, including a faulty GPU, damaged motherboard, or incorrect audio drivers.
7. No sound: This can be caused by a variety of issues, including a faulty sound card, a damaged motherboard, or incorrect audio drivers.
8. Slow performance: This can be caused by a variety of issues, including a slow CPU, insufficient RAM, or outdated software.
If you are experiencing any of these issues with your motherboard, it’s crucial to troubleshoot and identify the root cause in order to fix the problem.
Congratulations on completing our beginner’s guide to the motherboard! By now, you should have a solid understanding of what a motherboard is, how it works, and how to choose the right one for your build. You should also be familiar with the different parts of a motherboard and how to install and set up one correctly. While there is still much more to learn about motherboards and PC building in general, we hope this guide has provided a good foundation for you to build upon. With this knowledge under your belt, you’re well on your way to becoming a motherboard master! Happy building!